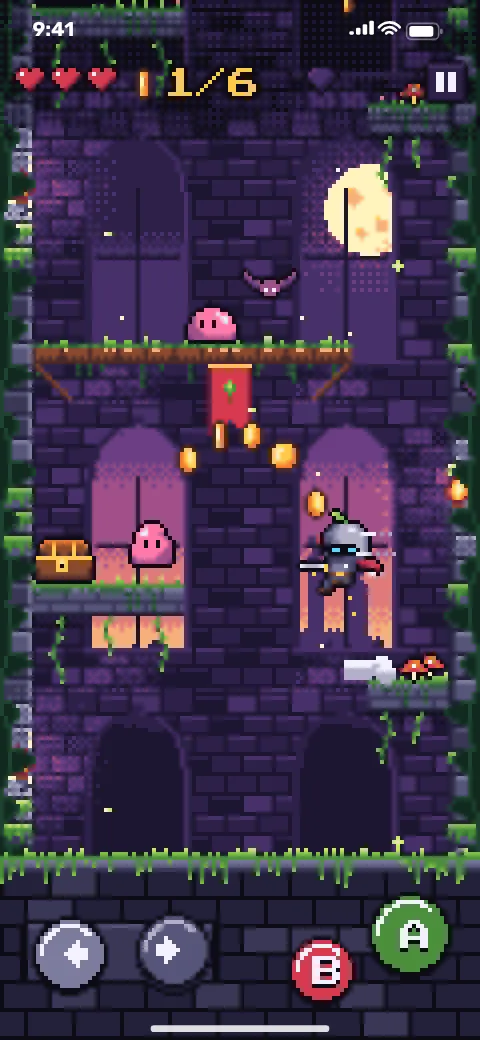
Why controls decide whether a platformer works
A platformer asks the player to make hundreds of small timing decisions a minute. On a controller, the button gives a click and the thumb never leaves it. On glass, the player cannot feel where the jump button ends, the thumb covers part of the screen, and a gesture near the edge can trigger the operating system. Good art will not save a game where players blame the controls for their deaths.
Most buyers check the art at each checkpoint and play the controls only briefly. The test plan below turns control feel into things you can see in a recording and try yourself, so you can give specific feedback while changes are still cheap. It applies whether you build with us or anyone else; our own example concept on the platformer page lists coyote time and jump buffering as the reason its touch controls feel fair.
The touch-controls test plan
| Area | What to test | How to check it | What a pass looks like |
|---|---|---|---|
| Input latency | Delay between the thumb touching the jump button and the character leaving the ground | Film the phone with your camera's slow-motion mode and count frames between contact and the first jump frame. Repeat with a platformer you like on the same phone. | The jump starts no later than in your reference game, and the delay does not grow in busy scenes with many enemies or particles |
| Jump buffering | A jump pressed a moment before landing still fires on landing | Tap jump just before touching down, ten times in a row, during a sequence of quick hops | Every early press produces a jump; none are silently dropped |
| Coyote time | A jump pressed a moment after running off a ledge still works | Run off ledges and press jump slightly late, on purpose | Late presses still jump, but the window is short enough that you cannot jump from mid-air |
| Variable jump height | Holding jump goes higher than tapping it | Compare a short tap and a long hold at the same ledge | Two clearly different heights, and levels that use both |
| Button size and spacing | Buttons large enough to hit without looking, with gaps that prevent wrong presses | Play a full level without looking at your thumbs; note any missed or wrong presses | No missed presses, and targets at or above platform guidance (44x44 pt default control size on iOS, 48x48 dp minimum on Android) |
| Thumb zones | Movement on one side, actions on the other, both within easy reach in the intended grip | Hold the phone as a player would on a bus; check reach on a small phone and a large one | No stretch to reach jump; no controls under the notch, camera cutout or home indicator |
| Multi-touch | Holding right while pressing jump, and sliding the left thumb between left and right without lifting | Run, jump and change direction mid-air in one continuous motion | The character responds to both thumbs at once and to slides between buttons |
| System gestures | Swipes near screen edges do not open notifications or close the game | Play aggressively near the top and bottom edges on iOS and Android | No accidental exits; the game handles an interruption by pausing |
| Frame rate independence | Jump height and speed are the same on 60 Hz and 120 Hz screens | Play the same jump on two phones with different refresh rates if you have them | A gap that is clearable on one phone is clearable on the other |
The touch-target sizes come from the platforms' own design guidance: Apple's Human Interface Guidelines give 44x44 points as the default control size on iOS, and Android's accessibility guidance recommends touch targets of at least 48x48 dp. Platformer buttons are often larger than this, because the player is not looking at them.
Choose the control scheme before the build starts
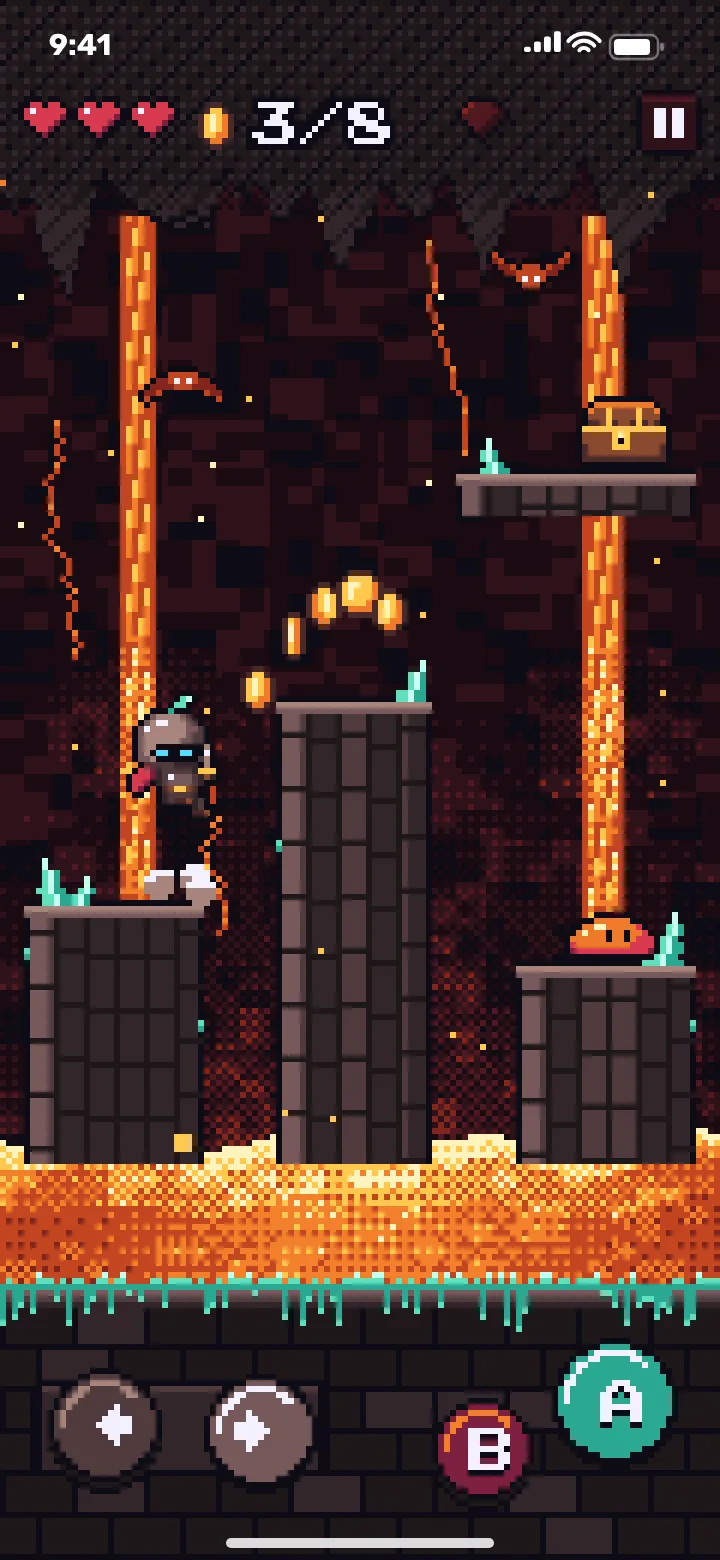
The control scheme changes level design, so it belongs in the blueprint, not in feedback on day eight. There are three common choices, and each one suits a different game.
| Scheme | Good for | Watch out for |
|---|---|---|
| Auto-run, tap to jump | Short sessions, one-handed play, a broad casual audience | Less room for exploration and secrets, since the player cannot stop |
| Left and right buttons plus jump | Precise platforming and secret hunting, as in our example knight concept | Needs the most tuning: button spacing, sliding between buttons, multi-touch |
| Virtual joystick plus action buttons | Games with combat, attacks or dashes alongside jumping | A floating stick can drift under the thumb; test where it recenters |
Each extra button (attack, dash, interact) adds one more thing to place in the thumb zone and one more control to test. That is part of why a larger moveset pushes a platformer toward Advanced scope, as the platformer cost guide explains.
What a recorded checkpoint should show
On a Core build, the playable loop arrives at the prototype checkpoint around days two to three, with a feedback window. On Advanced, the polished first playable is targeted for day 10. Either way, that is the moment to test controls, because level layout has not been finalized around them. Ask for a short screen recording alongside the build so you can compare what the developer saw with what you feel in your hands.
The checkpoint recording should include
- Taps shown on screen (Android has a Show taps developer option), so you can see when each press happened.
- A run through one full level without deaths, then the same level with deliberate late and early jumps.
- Ledge run-offs that show coyote time working.
- A sequence of quick hops that shows jump buffering working.
- Short tap versus long hold at the same ledge.
- The game on the smallest supported phone and on a tablet, with the control layout visible.
- A pause and resume after a notification or app switch.
What to do with the results
Control tuning inside the approved blueprint is a refinement, and DFY packages include unlimited refinements within the blueprint until first submission. Changing the control scheme itself, for example from auto-run to free movement, can change level design across the game, so raise it at the first checkpoint. Adding a new move such as a dash is a new system and a scope change.
Playtesters help too. Core includes up to 15 invited playtesters and a feedback summary. Ask them to note every death they felt was unfair, and look for clusters on the same jump. If you are writing a full brief, the game brief template has a place for control scheme and reference games.
Frequently asked questions
What is coyote time in a platformer?
Coyote time is a short window after the character runs off a ledge during which a jump still works. It makes late presses feel fair on touch screens, where players cannot feel the button.
What is jump buffering?
Jump buffering remembers a jump pressed just before landing and fires it on landing. Without it, quick hop sequences drop presses and feel unresponsive.
How big should on-screen buttons be in a mobile platformer?
At least the platform guidance (Apple's default control size of 44x44 points on iOS, Android's recommended minimum of 48x48 dp), and usually larger because the player is not looking at the controls. Test the size on your smallest supported phone.
How can I measure input lag without special tools?
Film the phone with your camera's slow-motion mode and count frames between your thumb touching the button and the character starting to jump. Compare it with a platformer you like on the same phone.
When should I test the controls during a build?
At the first playable checkpoint, before levels are finalized around the jump. Changing the control scheme late can mean redesigning levels.
Sources
- Apple Developer, Accessibility, Human Interface Guidelines
- Android Developers, Make apps more accessible
Written and reviewed by the DFY Games team. Published ; facts checked . Prices and store rules change: check the linked sources before you rely on a figure.